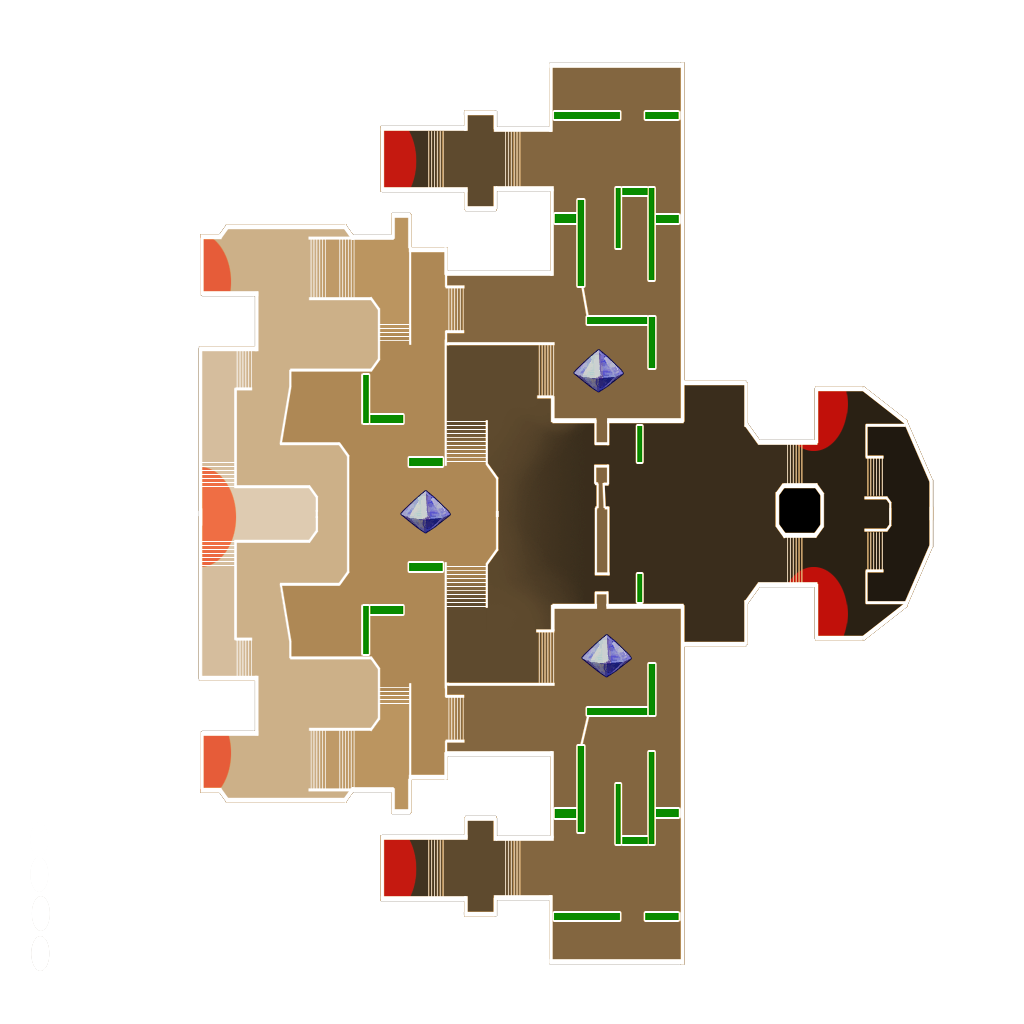














Quickly test tower tweaks directly in this build view. Changes are not saved.
Click on a numbered hint marker on the map to zoom and highlight nearby towers. Double click on map to reset zoom.
No hint selected.
Highlight placed towers (Chrome limitation applies)





































































Build Status: Public
Difficulty: Ruthless
Game Mode: Pure Strategy
AFK Able: No
Mana Used: 0
Mana to Upgrade: 0
More Builds from victor
First stack: Directly underneath bridge, put a summoner with at least 1 monk gaurdian pet to specifically boost the auras.
Second stack: Almost entirely on the buff bream. The beam connects to the most north part of the bridge and as far south as you can go. Start with the lightning towers putting them as far to the side as possible and you'll have room to put the DSTs directly next to them. Then start placing herm towers and warden towers as close together on the bridge. Make sure to place the shroom pits on top of each other under a tower since they stack. The final cloud won't fit on the main bridge and will be on the top bit. Finally place the two golems on top of the stack so they heal most of the build.
For the rest of the du you can do a couple things, here I put the web wall down, you can also put some reflect beams to help protect the build. You can also throw some traps down to stop smaller enemies from getting to the crystal.
Characters: You need to have the previously mentioned boost gaurdian and at least a TB for when the djin rush happens at around 2k enemies dead(I personally keep it on as long as I can to make sure the build is healed and doesn't die) Having as many extra summoner boost guys just helps the build go longer and is heavily suggested
Alternate setups: You can also swap around any towers that you want with this build(More herm, Gaurdian, Squire Towers) you'll just need to try and fit them all in the limited space although you need to keep at least one Golem for aggro and res. I personally have a double monk gaurdian Summoner so I don't need a pylon but if you'd like to swap that out and throw one in there it works in the build as well