


Quickly test tower tweaks directly in this build view. Changes are not saved.
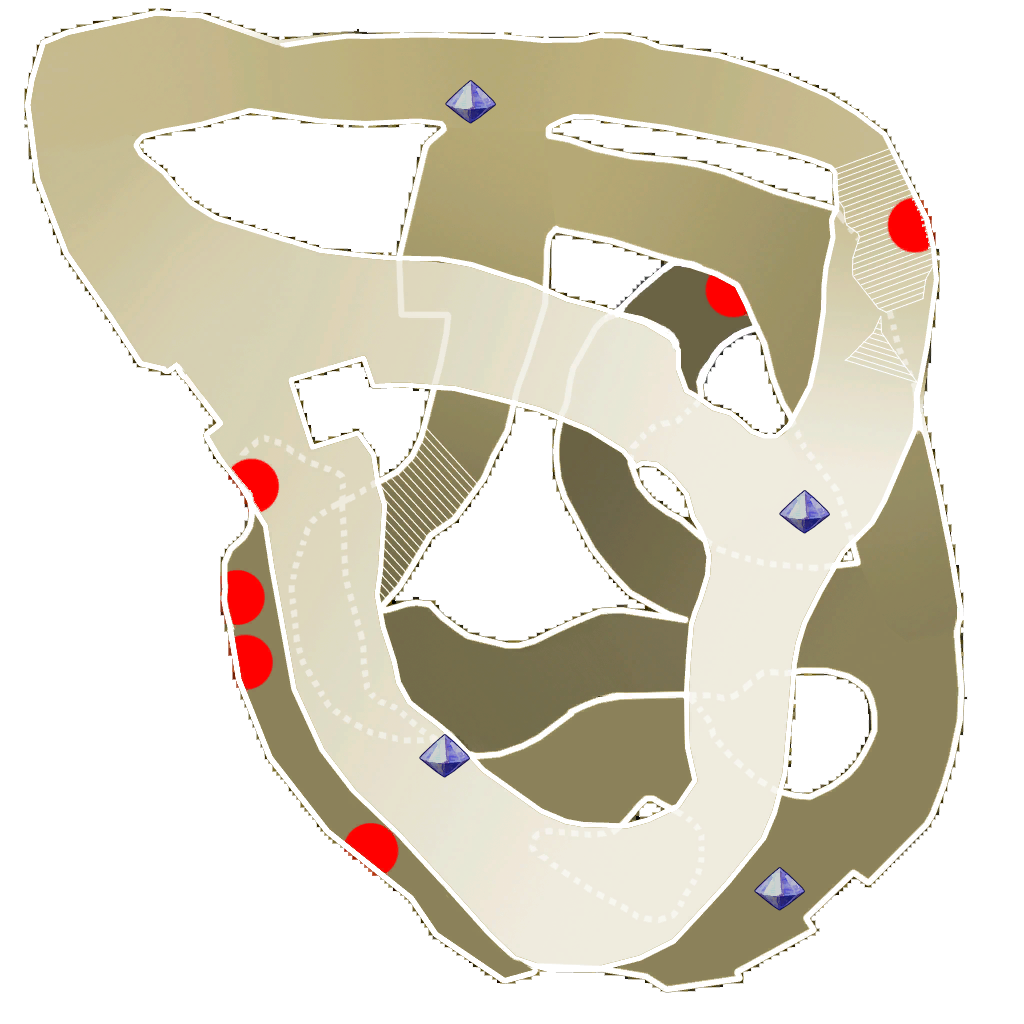
Click on a numbered hint marker on the map to zoom and highlight nearby towers. Double click on map to reset zoom.
No hint selected.
Highlight placed towers (Chrome limitation applies)


| Name | HP | Damage | Range | Rate |
|---|---|---|---|---|
 Monk - Damage Range Monk - Damage Range | 4400 | 5200 | 7700 | 3600 |
 Huntress Huntress | 2500 | 8400 | 4500 | 4000 |
 Guardian Guardian | 8900 | - | 4000 | 4100 |
 Warden Warden | 3400 | 8800 | 4400 | 4200 |
Build Status: Public
Difficulty: Any
Game Mode: Pure Strategy
AFK Able: Yes
Mana Used: 0
Mana to Upgrade: 0
More Builds from Sleepy
Changelog:
- 06/19/2026 Removed 1 Owl Nest from Hint 3 and added an Angry Blossom and another Sludge Launcher to provide more direct DPS to ogres for safety of the stack on Ruthless. Moved Hint 1 stack and beams to the south by the forge (screenshot has NOT been updated).
I don't know the stats needed. I input the stats I used.
See the screenshots below for the build and placements.
Characters:
- Guardian (Adept Upper first) at Hint 1.
- Warden at Hint 3.
- Summoner with Huntress/Huntress combo at Hint 3.
- Summoner with Huntress/Monk combo at Hint 2.
Green arrows for Hint 1's towers' directions.
Blue arrow for Hint 2's towers' direction.
Yellow arrow for Hint 3's towers' direction.
[Visuals]
Hint 1

Hint 2

Hint 3
Image and map makes it hard to see, but the auras are on lower rocks, so not next to the crystal. This positioning helps deal with the mobs in the spawn one level above while also allowing the crystal to be well protected.

Traps
