


Quickly test tower tweaks directly in this build view. Changes are not saved.
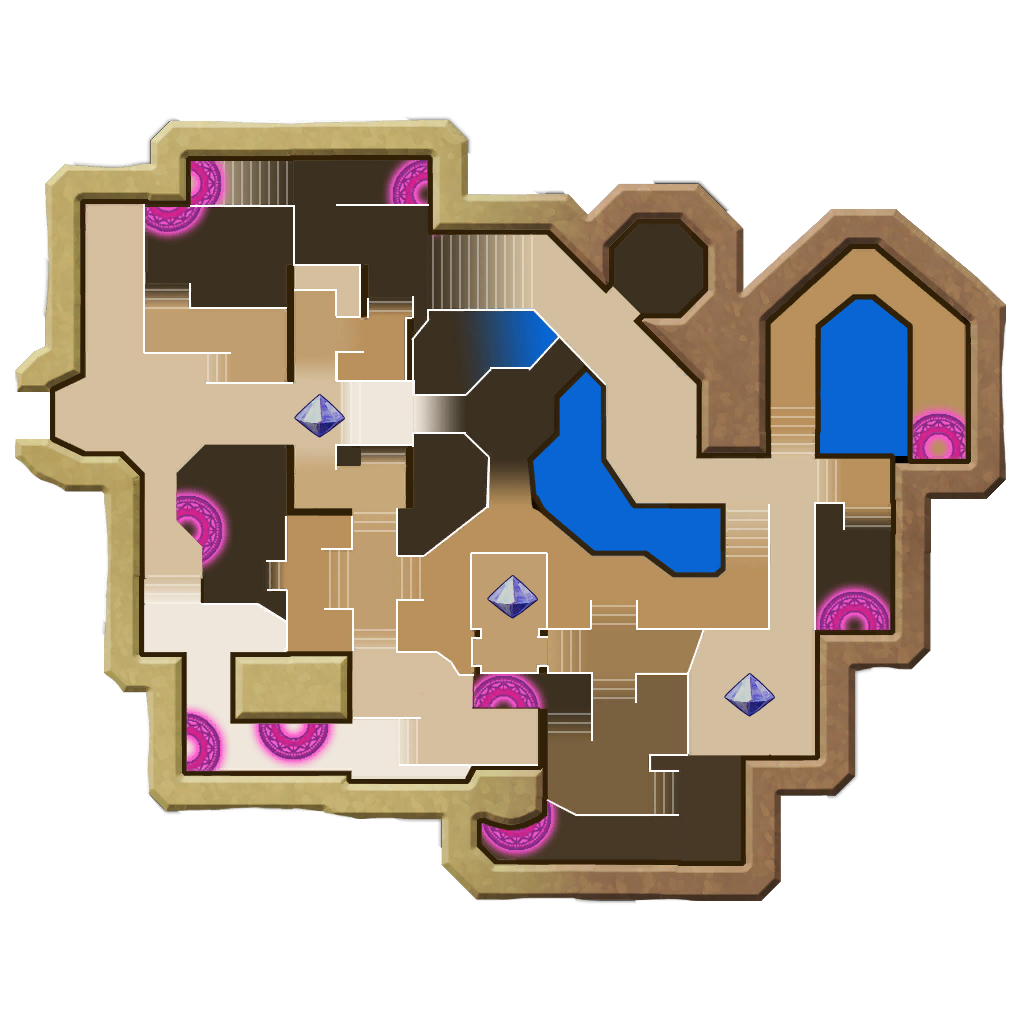
Click on a numbered hint marker on the map to zoom and highlight nearby towers. Double click on map to reset zoom.
No hint selected.
Highlight placed towers (Chrome limitation applies)


Build Status: Public
Difficulty: Any
Game Mode: Pure Strategy
AFK Able: No
Mana Used: 0
Mana to Upgrade: 0
More Builds from Nick The Guy Who Mis
Note 1: "x" is shown for towers stacked on top of each other. To place multiple towers from different characters in the same spot, pull in all characters on alts and pre-place them all before building.
Note 2: This map does not seem very optimal for armor farming, but this build is quite fast and solves the slow harbinger problem.
Note 3: The ogres are important to place correctly to pull the wasps aggro and kill them quickly with mortars
Hint 1: This goes on the raised bar east of the crystal; all turrets need to hit the green dotted line.
S.A.M. x Mortar
Wisp x Sludge x Cloud x Mushroom
Hint 2: The beam goes from the upper ledge to the ground level. Turret range must hit the blue dotted line. (This is a 4-hero stack)
S.A.M. x Mortar x Mushroom x Seed Bomb x Wisp x Sludge
Hint 3: Mortar must cover the Yellow Line, Cloud needs to go to the Eastern Spawn stairs.
Mortar x Cloud x shroom pit x 2 Owl
Hint 5: TB Monk aims toward the raised landing on the SW corner for nearly full wave TB