


Quickly test tower tweaks directly in this build view. Changes are not saved.
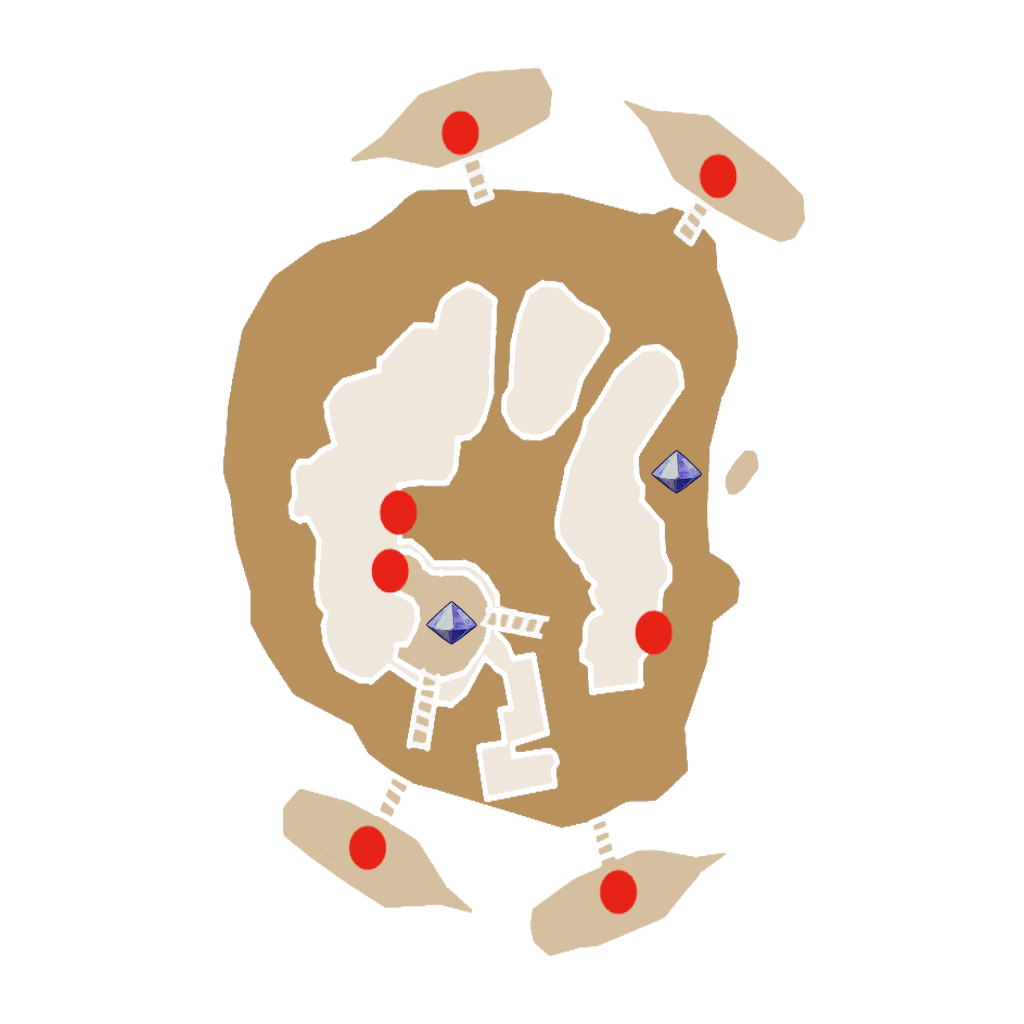
Click on a numbered hint marker on the map to zoom and highlight nearby towers. Double click on map to reset zoom.
No hint selected.
Highlight placed towers (Chrome limitation applies)


| Name | HP | Damage | Range | Rate |
|---|---|---|---|---|
 Monk Monk | 2500 | 2100 | 7000 | 2300 |
 Series-EV Series-EV | 3500 | 7100 | 3100 | 3400 |
 Hermit Hermit | 3100 | 6500 | 2300 | 3300 |
 Guardian Guardian | 7100 | 2200 | 3900 | 3900 |
Build Status: Public
Difficulty: Ruthless
Game Mode: Campaign
AFK Able: No
Mana Used: 0
Mana to Upgrade: 0
More Builds from Joyle
Owls are fun.
The stats shown are what I had when I first tried the build. It can probably be done with less stats, but I have not tested it.
Hint 1: Seed Bombs for extra security, though I think the owls alone can manage.
Hint 2: Tower Boost sits here.
Wave 1 Build: Collect the chests and start with the Auras. Auras at Hint 1 are placed at the opposite side of the Buff Beam, and Auras at Hint 2 sit in between the tree and the Core, you may have to move them further back if your Tower Range is larger. After you get the Auras, set up the Buff Beams. Make sure the Buff Beams have some distance from the Core. Finally, get your Forest Golems and Nature's Pylons down.
Wave 1 Combat: Focus on getting as much upgrades at Hint 1 as you can, then get to Hint 2. If you can at the very least get the buff beam on Hint 2 upgraded, you should be fine.
Wave 2 Build: Place your Owl Nests on each Buff Beam and then get the Seed Bombs up. You should be able to fit everything without needing a stacking script because Owl Nests can be stacked by default and don't impede the placement of the Seed Bombs.
Wave 2 Combat: Get the rest of Hint 1 defenses upgraded, and if you manage to get it all in one go then move on to Hint 2. It can be a little annoying to upgrade everything at Hint 1 because the owls just do their job so well.
Wave 3 Combat: Wrap up with upgrading defenses if needed, and from here on out just use whatever DPS hero you plan on challenging the bosses with while you continue to Tower Boost at Hint 2.
Boss Wave: Defenses should hold for more than enough time to take on the bosses, just continue to Tower Boost at Hint 2 while the fight ensues. Both the Kraken and the Demon Lord have a bit over 500m HP with 2 players out on Ruthless. Super easy to fight with a Countess and Melee Pet combo, but not required. I recommend focusing on the Demon Lord first to remove the danger of the lingering flames, then fight the Kraken.
On my first run with this build I did not use a TB wave 1 and ended up taking 3/4 of the Core's Health damage as punishment, but it should be safe with a TB thanks to Electric Auras being solid.